ニュース主要経済エンタメスポーツ国内国際IT科学地域主要 ニュース4/20(土) 19:32更新衆院3補選は中盤戦 裏金巡り舌戦NEW123追加利上げの可能性 日銀総裁言及1239高齢者の身寄りなし問題 どう対応NEW346キリンビール工場で作業員が死亡618やるしかなかった 海外売春の実態NEW48医師不足の新潟県 なぜ研修医増加120藤井叡王 タイトル戦連勝ストップNEW101歌手・山田信夫、脳腫瘍を公表96オフィス街で4/20(土) 15:10時事通信
個人に関わる情報ログインID新規取得登録情報あなたのステータスメールメール宝箱くじ毎日1回 宝箱くじPayPayPayPay残高確認本日の天気、運行情報2024年4月20日(土)港区今日明日の天気今夜の天気最高気温25℃最低気温13℃降水確率0%花粉予報やや多い明日の天気最高気温22℃最低気温16℃降水確率60%花粉予報少ない雨雲レーダー地域情報くらしの手続きや自治体情報など運行情報事故・遅延情報はありません(19:42)お知らせ一覧を確認する
本日の天気、運行情報2024年4月20日(土)港区今日明日の天気今夜の天気最高気温25℃最低気温13℃降水確率0%花粉予報やや多い明日の天気最高気温22℃最低気温16℃降水確率60%花粉予報少ない雨雲レーダー地域情報くらしの手続きや自治体情報など運行情報事故・遅延情報はありません(19:42)お知らせ一覧を確認する
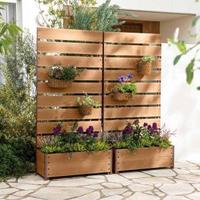
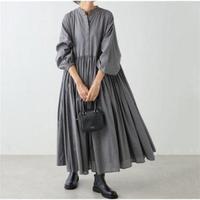
ピックアップYahoo!ショッピングおしゃれアイテムで始めるガーデニング予算5000円で探す春に着たいワンピース「スマートタグ」で忘れ物にサヨナラつながりにくいを解消、メッシュWi-Fi新生活を楽しくするキッチン家電カワイイが大渋滞、動物モチーフの文房具
スコアボードスポーツナビプロ野球Jリーグ4/20(土)の試合阪神対中日試合終了プレイバック動画15-2広島対巨人試合終了プレイバック動画6-2ヤクルト対DeNA5回表速報中2-3投手阪口打者牧日本ハム対ロッテ試合終了プレイバック動画2-0西武対楽天試合終了プレイバック動画2-8ソフトバンク対オリックス試合終了プレイバック動画3-3